Getting Started with cURL
As a developer, whatever we code eventually gets deployed on a server.
A server is nothing but a program that runs somewhere and serves our application to users.
Users usually interact with this server through a browser. The browser sends requests to the server and shows the response in a user-friendly way.
But as developers, we often want to test backend changes without a UI. Testing APIs or backend logic only through a browser is either impossible or very inconvenient.
This is where cURL comes in.
What is cURL?
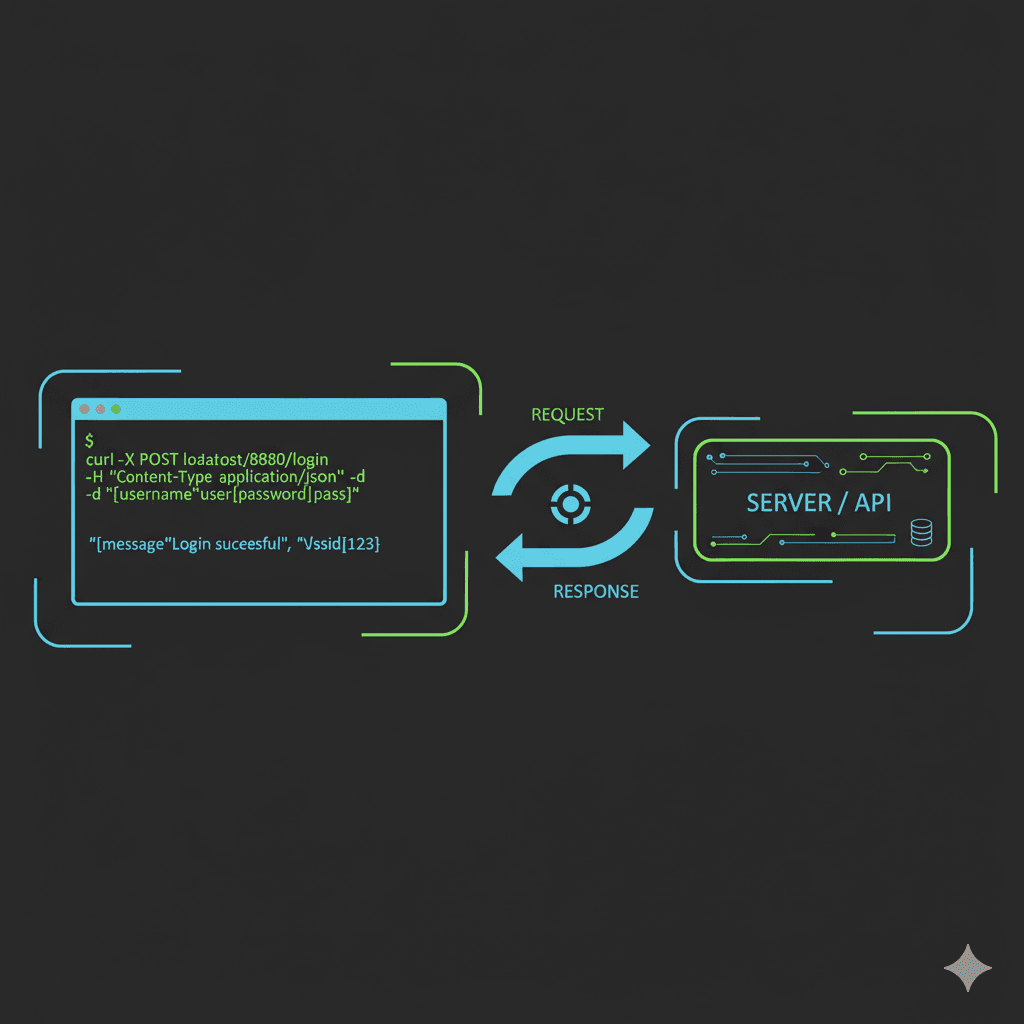
cURL is a command-line tool that allows us to make requests to a server.
In simple terms:
cURL lets you send messages to a server directly from the terminal.
It is very useful for developers because:
It helps in testing backend APIs
It helps in troubleshooting server issues
It allows testing functionality independent of the UI
cURL supports multiple protocols, but in this article we will focus only on HTTP / HTTPS.
Even though it might look complex or scary because it’s a CLI tool, it is actually quite simple to use.
Making Your First Request Using cURL
Let’s start with the most basic example:
Fetching a webpage from a locally running nginx server.
root@db997926b412:/# curl localhost
<!DOCTYPE html>
<html>
<head>
<title>Welcome to nginx!</title>
<style>
html { color-scheme: light dark; }
body { width: 35em; margin: 0 auto;
font-family: Tahoma, Verdana, Arial, sans-serif; }
</style>
</head>
<body>
<h1>Welcome to nginx!</h1>
<p>If you see this page, the nginx web server is successfully installed and
working. Further configuration is required.</p>

<p>For online documentation and support please refer to
<a href="http://nginx.org/">nginx.org</a>.<br/>
Commercial support is available at
<a href="http://nginx.com/">nginx.com</a>.</p>

<p><em>Thank you for using nginx.</em></p>
</body>
</html>
Here, cURL fetched the raw HTML from the server.
If we open the same URL in a browser, we see a nicely rendered page.
The content is the same - the difference is that the browser knows how to render HTML, while cURL just prints it as text.


Understanding the Response (Headers and Body)
To see more details about what’s happening behind the scenes, we can ask cURL to show a verbose response.
curl -v localhost
*   Trying 127.0.0.1:80...
* Connected to localhost (127.0.0.1) port 80 (#0)
> GET / HTTP/1.1
> Host: localhost
> User-Agent: curl/7.88.1
> Accept: */*
>
< HTTP/1.1 200 OK
< Server: nginx/1.27.5
< Date: Sat, 31 Jan 2026 14:55:07 GMT
< Content-Type: text/html
< Content-Length: 615
< Last-Modified: Wed, 16 Apr 2025 12:01:11 GMT
< Connection: keep-alive
< ETag: "67ff9c07-267"
< Accept-Ranges: bytes
<
<!DOCTYPE html>
...
From this output we can clearly see:
The request being sent (
GET /)The response status (
200 OK)The headers sent by the server
The response body (HTML content)
What Happens When a Page Doesn’t Exist?
If we try to access a path that doesn’t exist, the server responds with an error.
curl -v localhost/path
< HTTP/1.1 404 Not Found
< Server: nginx/1.27.5
...
This shows a 404 error, meaning the requested resource was not found.
All the requests we made so far were GET requests, which we can also confirm from the request headers.
Using cURL to Talk to APIs
cURL is not limited to fetching web pages.
It is commonly used to test APIs.
Below is an example of using cURL to test a POST API for user registration.

The response shows a 200 status code, which means the request was successful.
Next, we try logging in using the newly created user.

The login also works successfully.
Now let’s try passing invalid credentials.

This time, the API responds with an error, which confirms that we are properly testing different scenarios.
Using cURL, we are able to test APIs directly from the terminal, without needing any UI.
Basic cURL Flags Used
In the API examples above, we used a few common cURL flags. Let’s understand them:
--url
Tells cURL the URL to which the request should be sent.--request
Specifies the HTTP method to use (for example, POST).--header
Used to pass headers along with the request.
Multiple headers can be passed by using this flag multiple times.--data
Used to send the request body or payload expected by the API.
There are many more flags and ways to use cURL, but this article focuses only on the basics needed to get started.